1. Install FileZilla FTP client
2. Set up FileZilla
a. From the menu, go to "File" -> "Site Manager" and click on "New Site."
b. Enter the information in the "General" tab.
Host: "ftp-premiumacme.egnyte.com" (Replace "premiumacme" with your Egnyte domain name)
Protocol: "FTP - File Transfer Protocol"

Encryption: Select "Require explicit FTP over TLS."

Logon Type: "Normal"

Username: "jsmith$premiumacme"
Please note that you will be replacing "jsmith" with your Egnyte username and "premiumacme" with your Egnyte domain name. The ‘$’ character is a separator between your username and domain name.
Password: Your Egnyte password
After the completion of the above steps, your "General" tab might look something like this.

c. From Filezilla's main menu, click "Edit" > "Settings." Then click on "Connection."
Set the connection "Timeout" to "600" and "Maximum number of retries" to "2."

d. Set the "Transfer Type" to "Binary" by expanding "Transfers" > "File Types."

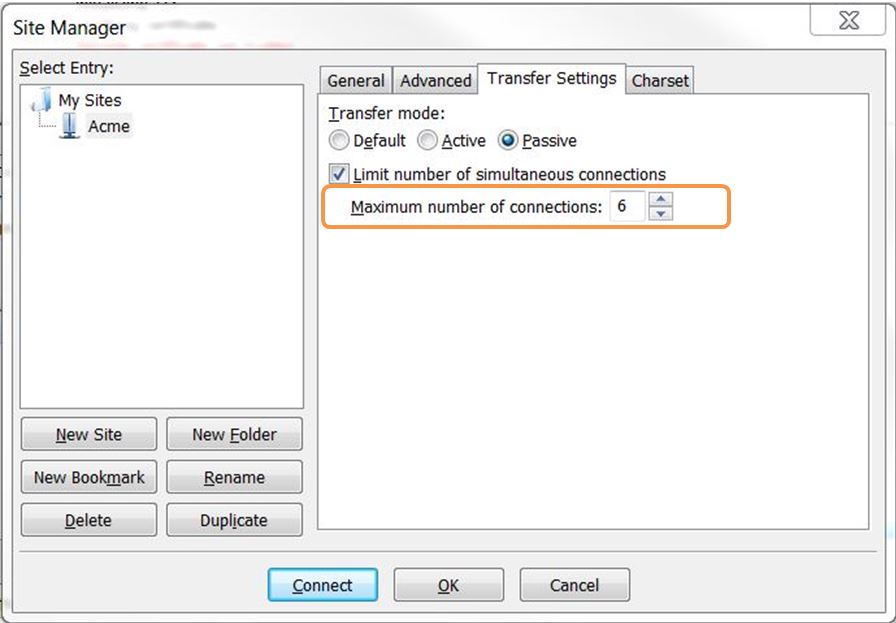
e. Set the "Transfer Mode" as "Passive."
- Disable "Allow fall back to other transfer mode on failure."
- Enable "Send FTP keep-alive commands."
f. If you are planning to use Personal Local Cloud, Office Local Cloud, or Enterprise Local Cloud, you need to select the option to "preserve timestamps of transferred files." You can do this from within the main toolbar of FileZilla.

g. Click Connect to log-in to your Egnyte account.
Please note that by default Egnyte limits FTP users to three concurrent transfers. You can change this setting in FileZilla here:

You should also limit the maximum number of simultaneous connections to 6.
3. Upload your files
Once you connect, simply browse your local drive to upload from the Local Site window on the left. Drag the files to an appropriate folder in the "Remote Site" on the right, e.g. "/Shared/Documents."